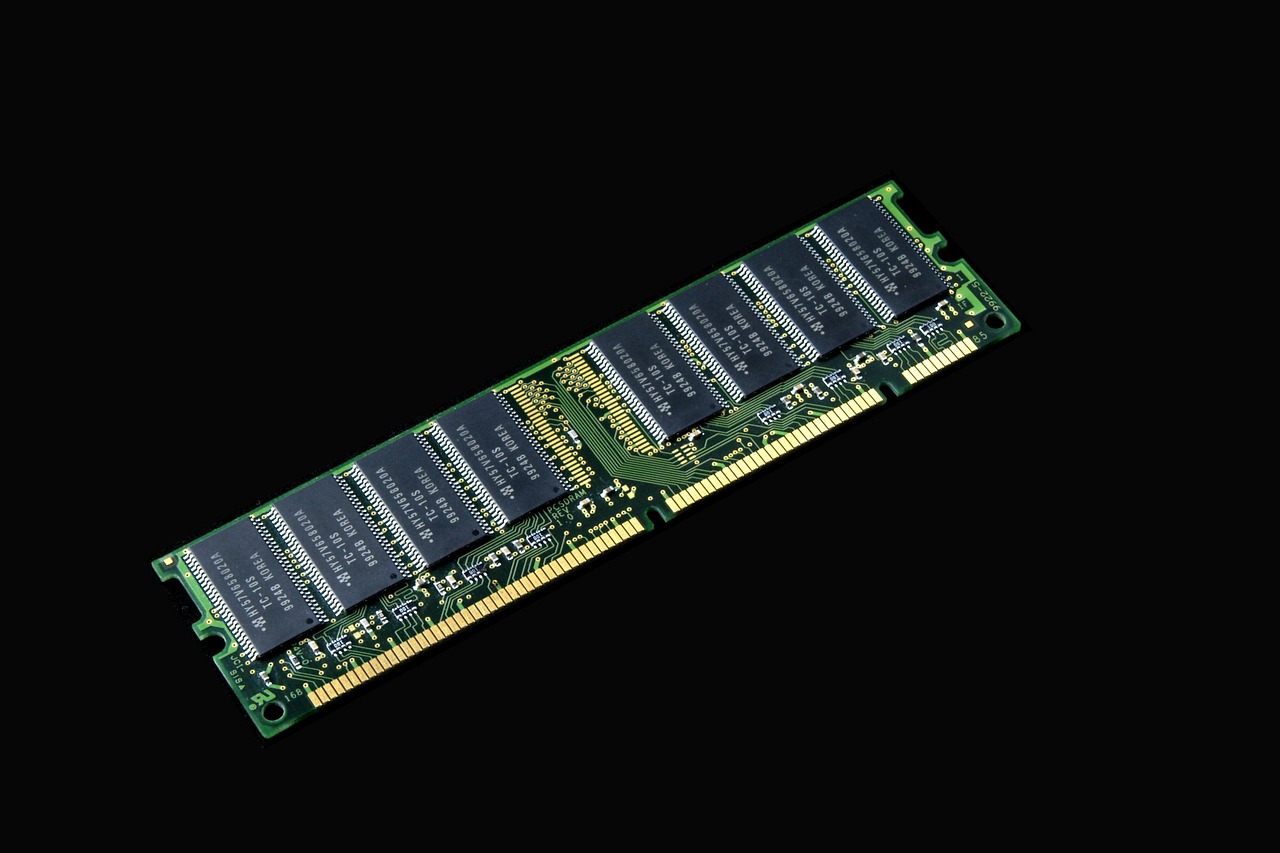
A cheap RAM kit is expensive when it cannot boot.
Ten browser tabs and a video call can make a PC stutter. A tempting 32GB deal can still be useless: DDR4 and DDR5 fit different slots, and desktop UDIMMs cannot enter laptop SO-DIMM sockets.
First match the motherboard’s generation, form factor, capacity limit, and supported speed. A matched pair usually enables dual-channel operation; mixing kits can force slower settings or instability. ECC, registered memory, and XMP/EXPO profiles require explicit motherboard and CPU support—not a guess from the MHz number.


Confirm that RAM is the bottleneck
A slow computer does not automatically need more RAM. A full storage drive, overheating, a busy antivirus scan, weak CPU performance, or a failing drive can feel similar. The useful test is to watch memory during the app, game, or multitasking session that becomes sluggish.
On Windows, open Task Manager → Performance → Memory and Processes. On a Mac, use Activity Monitor → Memory; on Linux, check the system monitor or free -h. Warning signs include:
- Memory use staying near capacity while the slowdown occurs
- High swap/page-file activity or a rising Windows “Committed” value
- A Memory Pressure graph turning yellow or red on macOS
- Disk activity spiking when switching between already-open apps
High RAM use alone is normal if the system remains responsive. By contrast, repeated stutters, long app-switch delays, and disk-heavy paging indicate that installed memory is forcing data onto storage. If CPU usage is pinned near 100% while memory has ample headroom, a RAM upgrade is unlikely to fix the problem.
Open the usual browser tabs, documents, creative apps, or game before checking. An idle desktop rarely reveals a memory shortage.
Build the profile before comparing kits
-
Identify the exact platform
Use the full desktop model or motherboard revision; for laptops, use the precise model code, not the series name. Similar-looking variants can have different memory wiring or soldered RAM.
RecordManufacturer support page and board/laptop manualDo not assumeMatching a kit to a family name alone -
Read the installed memory and slots
A system-information tool reveals DDR generation, current capacity, speed, module count, and occupied slots. Physical inspection may still be needed to distinguish an empty slot from inaccessible soldered memory.
RecordDIMM/SO-DIMM type and free, user-accessible slotsDo not assumeAssuming every listed slot accepts a removable module -
Set the real ceiling
Check the computer’s documented maximum, then the processor’s memory limit and operating system edition. On some laptops, soldered memory counts toward the platform total.
RecordMaximum total capacity and supported per-slot sizeDo not assumeBuying capacity based only on slot count -
Use speed lists correctly
The processor and board determine the speed at which RAM actually runs. Faster modules usually fall back safely at standard JEDEC settings; profile-only speeds may not.
RecordJEDEC speed support and XMP/EXPO availabilityDo not assumeTreating the kit’s headline MHz as guaranteed
Official manuals are the starting point because they define slot layout, supported memory type, and stated capacity limits. A motherboard QVL is a tested snapshot, usually based on kits available when the board launched—not a complete list of compatible RAM.
A kit absent from the QVL can still work perfectly when its DDR generation, module form factor, capacity, voltage, and JEDEC specifications fit the platform. QVL status matters more for high-capacity configurations, four populated desktop slots, and overclocked XMP/EXPO speeds, where memory training is less forgiving.
Compatibility rules that cannot be bent
A module fits only when its DDR generation, physical format, and supported capacity agree with the platform. DDR4 and DDR5 have different key notches and electrical standards; neither can be installed in the other’s slot. Older DDR3 is equally incompatible.
Desktop boards use full-length DIMMs; most laptops use shorter SO-DIMMs. A few compact desktops and all-in-ones also use SO-DIMMs, so the slot—not the device category—settles the question. Check the manual or inspect the installed module before ordering.
Capacity has limits at several layers: the motherboard, CPU memory controller, firmware, and sometimes each individual slot. A board advertised for 64 GB may reject 48 GB modules if its BIOS predates that density. Confirm both maximum total memory and maximum module size, then update BIOS only when the manufacturer documents support.
Some machines are not upgradeable at all. LPDDR memory is normally soldered to the motherboard, as is RAM in many thin laptops and mini PCs. Proprietary modules in certain all-in-ones and older systems need model-specific parts. ECC registered memory, common in servers, is not interchangeable with ordinary desktop RAM; it requires a board and CPU designed to support that exact ECC type.
A slot may be reserved for a different configuration, disabled by the design, or absent beneath a removable cover. Verify the exact model’s service manual and installed-memory layout first.
Choose capacity that fits the work
8GB is now a bare-minimum tier for email, documents, streaming, and a lightly used browser. It can still feel cramped with many tabs or video calls. 16GB is the practical starting point for most Windows desktops and laptops: everyday multitasking, office work, coding, and moderate gaming.
32GB makes sense for large photo libraries, 4K video timelines, substantial spreadsheets, modern games running alongside background apps, and heavier development tools. It is also a strong longevity choice when a machine is otherwise worth keeping. For several virtual machines, large code builds, CAD, 3D scenes, or professional video work, 64GB or more may prevent disk paging; allocate VM memory based on the guest operating systems and leave several gigabytes for the host.
Do not overlook integrated graphics
A system with integrated graphics borrows system RAM as video memory. Here, capacity helps, but dual-channel bandwidth can also noticeably improve graphics performance. Two identical modules—such as 2×8GB or 2×16GB—are the cleanest route to full dual-channel operation.
Pair now or save a slot?
On a four-slot desktop board, a matched pair in the recommended slots usually delivers dual-channel performance and leaves two slots open. A two-slot laptop poses a real choice: one 16GB module preserves expansion, while 2×8GB generally performs better today. Mixed capacities may run partly in dual-channel “flex” mode, but a matched kit is simpler and more predictable. Confirm the planned final capacity before buying rather than relying on a later match.
For compatible DDR4 desktop systems
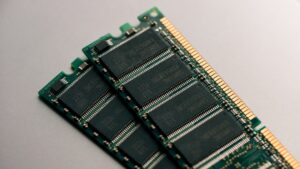
A matched 2×16GB desktop kit for systems that support 288-pin DDR4 UDIMMs at 2666MHz. It runs at 1.2V, uses non-ECC unbuffered modules, and carries a limited lifetime warranty. It is not for laptop SO-DIMM slots; check the PC’s supported memory speed and capacity first.

Read the numbers without chasing them
MT/s
The useful DDR speed figure: DDR5-6000 moves 6,000 million transfers per second. It is often marketed as “6000 MHz,” although its actual clock is half that.
CL timing
CAS latency counts clock cycles before data starts arriving. Lower is better only at the same transfer rate; DDR5-6000 CL30 is about 10 ns.
Primary timings
Numbers such as 30-36-36-76 describe several memory delays. They matter most when comparing otherwise similar kits, not before capacity and compatibility.
XMP and EXPO
Stored overclocking profiles that set speed, timings, and voltage together. XMP is Intel-branded; EXPO is AMD-focused, though motherboard support decides what can be used.
Rated speed is a profile, not a promise
A DDR5-6000 kit is not automatically faster in every machine than a well-priced DDR5-5600 kit. Transfer rate helps bandwidth-heavy work—integrated graphics, large file processing, and some rendering—but the CPU’s memory controller, motherboard, module count, and BIOS version set the practical ceiling. Four DIMMs or high-capacity sticks can require a lower stable rate than two sticks.
Most kits first boot at a conservative JEDEC setting, often far below the label. In BIOS/UEFI, enable the advertised XMP or EXPO profile, save, and then confirm the applied data rate in BIOS or a trusted monitoring tool. If a system is running at 2133 rather than its advertised 3200 speed, first check that the profile is enabled; then update BIOS, reseat the modules in the recommended slots, and test one matched pair at a time.
Do not force a profile simply because it appears in a menu. A successful boot is not proof of stability: crashes, game errors, or corrupted archives call for a memory test and, if needed, a lower speed or looser timings. The best kit is the fastest setting that remains stable for the actual platform.
Same capacity does not make RAM a match
Capacity is only one variable. DDR generation, voltage, ranks, chip layout, timings, and profile data can differ.
The memory controller must find shared settings. It may succeed, but only after reducing speed or loosening timings.
Brand names matter less than the modules’ actual specifications and training behavior.
A reused stick can run reliably beside another module, particularly at conservative JEDEC settings. For a closer look at mixing RAM brands without random crashes, compare the full part numbers rather than the labels.
Booting proves only that initial memory training passed.
Errors can appear later under heavy load, sleep/wake cycles, or an XMP/EXPO profile. A matched kit is validated as a set and is the safer choice when stability matters.
Reusing compatible RAM can be sensible for a low-cost capacity increase. Expect the system to follow the slowest common settings; if errors appear, disable the memory profile or replace both modules with one matched kit.
Treat the listing as a full specification
Match the manufacturer part number, DDR generation, and DIMM or SO-DIMM shape to the compatibility profile. Confirm whether the price covers one module or a matched kit.
Read rated MT/s, timings, voltage, rank, and ECC/registered status together. A supported speed is useful only when the system can run the module at its intended settings.
Brand reputation helps with consistency and warranty handling, but it does not establish compatibility. Compare Crucial and Kingston support, pricing, and kit options only after filtering for the exact required specification.
Prefer a listing whose seller, fulfillment, condition, and return policy are visible before purchase. Keep the packaging until the upgrade has passed memory testing.
Single laptop module
This listing states the details that make verification possible: M471A2K43DB1-CWE, 1 × 16GB DDR4-3200 (PC4-25600), 260-pin SO-DIMM, CL22, 1.2V, non-ECC unbuffered, and 2Rx8. It is a laptop/AIO module—not desktop DIMM memory—and it is one stick, not a 32GB pair. Samsung’s name is reassuring, but fit still depends on a system that accepts DDR4 SO-DIMMs at this density and speed. Check the seller and return terms separately; the listed price is about $100.
Fit the RAM, then confirm it is stable
-
Power down and prepare the machine
Shut down fully, unplug external power, and hold the power button briefly to discharge residual power. On a laptop with a removable battery, remove it; avoid working on carpet, touch grounded metal before handling modules, and hold RAM only by its edges.
-
Open the correct access point
Use the service manual or board diagram rather than forcing a cover. Desktop DIMM slots have retaining clips; laptop SO-DIMMs usually sit under a shield and release by spreading two side clips.
-
Use the preferred paired slots
For a two-module desktop kit, populate the motherboard’s recommended matched pair—commonly A2 and B2, often the second and fourth slots from the CPU. The manual is authoritative: adjacent slots can disable dual-channel operation on many boards.
-
Seat each module completely
Align the notch with the keyed slot; DDR generations cannot be installed correctly in the wrong orientation. A desktop DIMM should press straight down until both clips lock; a SO-DIMM enters at roughly 30 degrees, then pivots down until its clips engage. Never force it.
-
Check capacity, settings, and stability before returning anything
On first boot, confirm the full capacity in firmware, enable the intended XMP or EXPO profile if appropriate, then verify capacity and reported speed in the operating system. Run a memory test and a normal demanding workload; crashes, errors, or failed boots mean reseating or conservative settings are needed. Keep all packaging until the system passes testing.
A first boot after a memory change may take longer while the firmware trains the modules; repeated boot loops are not normal.
First boot, faults, and the final check
After a RAM change, the first startup can take longer than usual. DDR5 systems may spend one or several minutes memory-training—probing the modules and selecting timings—before producing video. Let that first boot finish; repeatedly cutting power can restart the process.
A system that remains black-screened, power-cycles, shows a DRAM debug LED, freezes under load, or throws blue screens needs attention. First, shut down fully, reseat both modules, confirm the recommended paired slots, and test with the memory profile disabled. For a machine that never reaches firmware setup, follow the dedicated no-boot RAM recovery checks rather than repeatedly changing BIOS settings.
Once it starts reliably, run a memory test and use normal demanding workloads for several days. Errors, app crashes, or file corruption mean the kit or its selected settings is not stable.
A brief DDR5 training delay is expected. A delay on every boot, no display after several minutes, or instability after startup is not.
Confirm these fields one last time
-
Match the DDR generation
DDR4 and DDR5 are physically and electrically incompatible.
-
Match the module type
Confirm desktop DIMM versus laptop SO-DIMM, plus non-ECC or ECC requirements.
-
Check capacity and slot plan
Verify supported total capacity and the intended matched kit configuration.
-
Verify the exact part number
Confirm rated speed, voltage, timings, kit count, seller, and return terms.
Buy the kit that the platform can actually run
The right upgrade is not merely compatible enough to boot: it is a matched kit with confirmed specifications, a stable profile, and a realistic return path. A little patience during first DDR5 startup is normal; persistent faults deserve a methodical check.