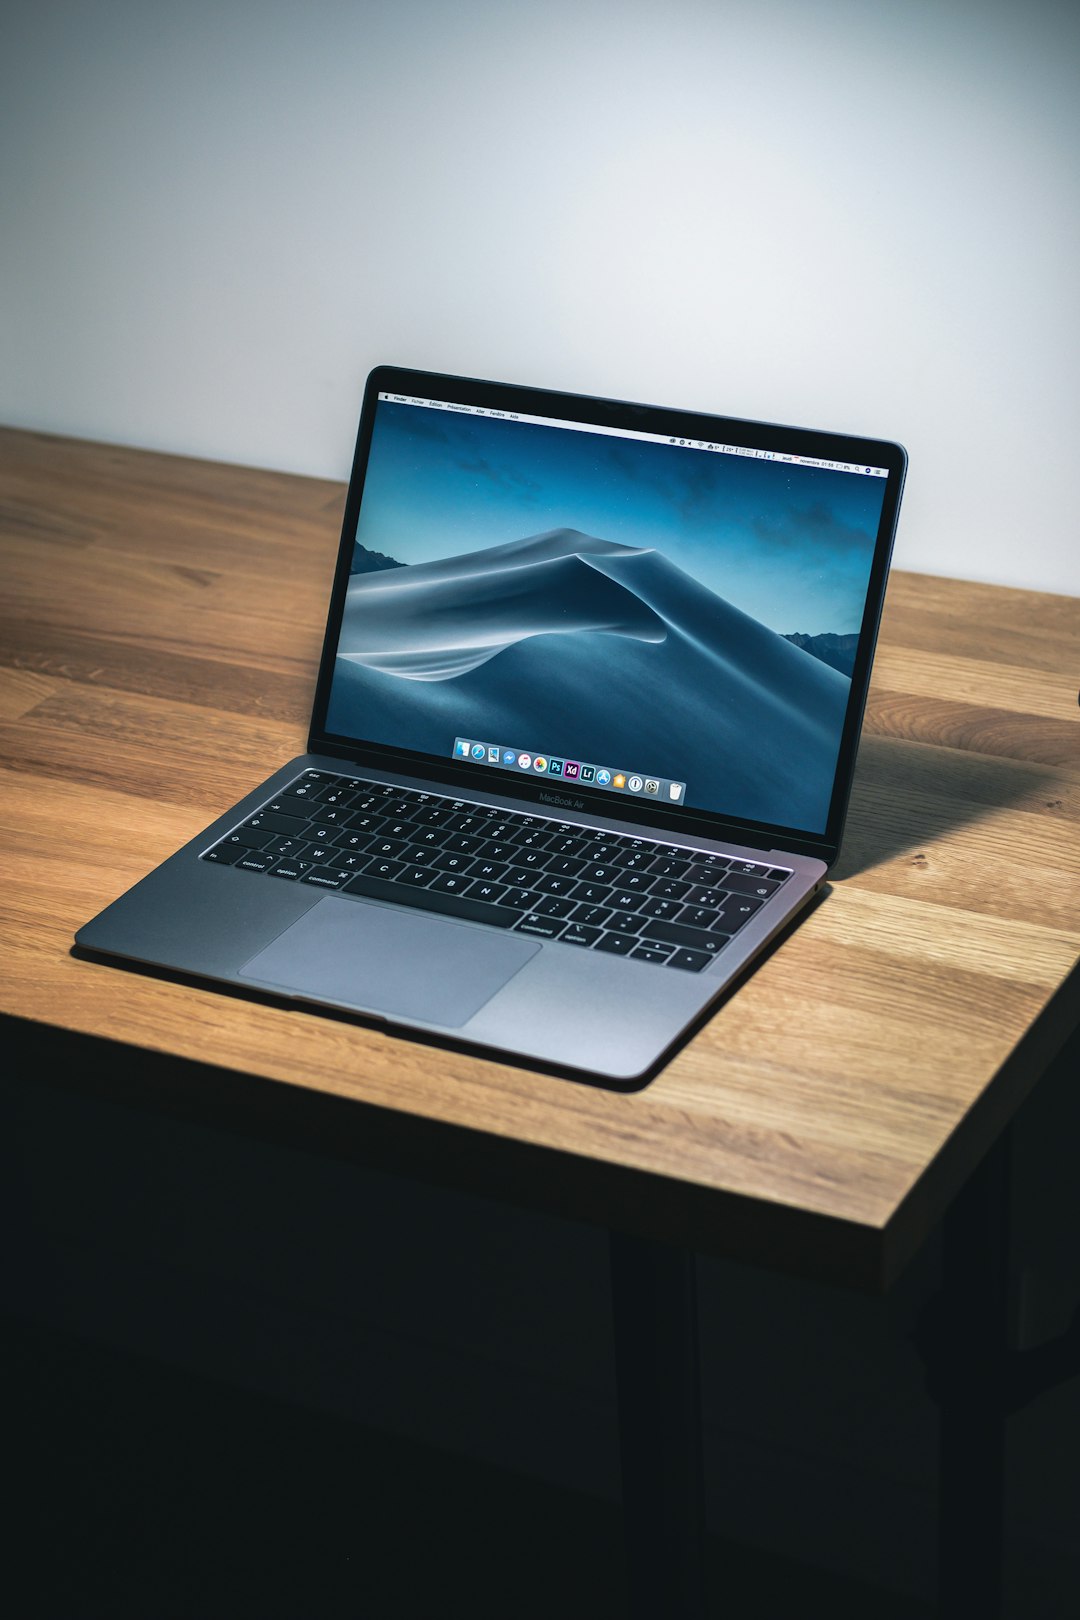
A privacy filter should narrow wandering eyes—not the laptop’s usefulness.
On a crowded flight, an adjacent passenger can read a bright spreadsheet from farther away than expected. A good privacy screen limits that side view while keeping the owner’s straight-on image readable—but only when its dimensions and attachment method match the laptop precisely.
Diagonal size alone is not compatibility. A 14-inch 16:10 panel and a 14-inch 16:9 panel differ in height; measure the viewable display, then confirm aspect ratio, bezel clearance, and whether the webcam, ambient-light sensor, or microphone sits in the filter’s path. Magnetic models are convenient for removal, but their top tabs can interfere with very slim bezels or lid closure. Adhesive and slide-mount filters need even more care: trapped grit can mark an anti-glare coating, while excessive thickness may prevent a laptop from closing flush. For those who keep sensitive work private on hotel Wi-Fi, a removable filter also avoids permanently dimming the display during private-room work. Expect some brightness loss and narrower optimal viewing angles; the best fit is one that makes that trade-off predictable, not distracting.
- Measure active screen width and height in millimetres, not the outer lid.
- Confirm clearance around camera cutouts and whether the lid closes fully with the filter attached.



A 14-inch 16:10 label rules out many wrong panels; it does not guarantee a match. Measure the lit display area only, excluding black bezels, then compare both width and height with the filter specification. Also confirm that mounting tabs or a magnetic top edge will not cover a webcam, sensor, or unusually thin bezel.
Match the panel, not the laptop label
-
Treat the diagonal as a rough category
A 14-inch or 15.6-inch listing describes a diagonal, not the rectangular area a filter must cover. Two laptops with the same nominal size can have different panel dimensions.
Look forA filter listing with exact width and height in millimetres.AvoidBuying solely because the diagonal number matches. -
Measure only the illuminated rectangle
With the display on, measure the visible lit area from pixel edge to pixel edge, excluding the black bezel and frame. Compare both width and height; a 16:10 14-inch panel is taller than a 16:9 14-inch panel.
Look forA near-exact active-area match and the correct aspect ratio.AvoidMeasurements taken across bezel edges or rounded screen corners. -
Check the mounting boundary
Magnetic strips, tabs, and adhesive rails need usable bezel space. Webcam housings, curved corners, touch layers, and edge-to-edge glass can limit where a filter sits.
Look forClear, flat attachment zones that do not cover the camera or sensor area.AvoidForcing rails onto the active display or over a raised bezel. -
Separate expected dimming from warning signs
A privacy filter normally lowers brightness, adds reflections, and may soften text slightly. Pressure marks, rainbow patterns, lifting edges, blocked ventilation, or interference with closing indicate a poor or unsafe fit.
Look forA flat filter that closes cleanly and leaves the panel free of pressure.AvoidAny fit that bows, pinches, or requires force to shut the lid.
A careful check takes minutes and prevents the common mistake of fitting a 16:9 filter to a taller 16:10 display. Record dimensions before removing any adhesive backing.
Clean the screen, turn it on, and note the lit width and height in millimetres. Match those figures to the maker’s stated viewing-area range, then confirm the aspect ratio rather than relying on “14-inch” or “15.6-inch.”
Hold the filter in position with the lid open. Confirm that all pixels are covered without overlapping the webcam, that tabs reach bezel rather than glass, and that the lid closes without contact or flex.
At normal brightness, check centered text, a white screen, and off-axis privacy. Mild brightness loss is ordinary; localized blotches, edge lift, touch disruption, or new lid resistance call for immediate removal.
For adhesive models, follow the laptop maker’s display-cleaning guidance; alcohol, ammonia, and repeated repositioning can damage some coatings.
SightPro Magnetic: privacy that comes off when accuracy matters
01
Best for easy, damage-free attachment
The SightPro Magnetic Privacy Screen is a removable filter for confirmed 14-inch, 16:10 panels, intended for laptops that need visual privacy on trains, in cafés, or at shared desks without leaving a filter in place all day. Its magnetic top-edge attachment makes particular sense for owners who switch back to the bare display for photo work, color review, or maximum screen brightness.
Fit still deserves care: its stated filter area is 304 × 190 mm (11 15/16 × 7 1/2 in), so panel width and height—not the laptop’s diagonal marketing label—should decide the purchase. A sufficiently flat, exposed top bezel is essential for stable magnetic seating; an unusually thin, curved, or deeply recessed bezel can make the mount less convincing. The filter also adds material at the lid edge, so the laptop should close normally without pressure before it becomes an everyday solution. SightPro does not position this version for touchscreens, where touch input and a hanging magnetic panel are a poor pairing.
- Removes quickly for unfiltered brightness and color work
- No adhesive residue or placement tape
- Also provides scratch, UV, and blue-light reduction
- Requires a compatible exposed top bezel
- Added edge thickness can affect lid closure on tight designs
- Not optimized for touchscreen laptops
Quick take A notably practical choice when privacy is needed only part of the day. Its convenience depends less on magnet strength than on bezel geometry and harmless lid clearance.
For the right 14-inch 16:10 laptop, this is the most adaptable privacy-screen approach: attach it for public work, then remove it when the display must look its best. Measure the active panel and inspect the top bezel first. A good magnetic fit should never force the lid or compromise touch use.
SightPro for fixed desk-and-travel laptops
Top choice for flexible installation and glare reduction
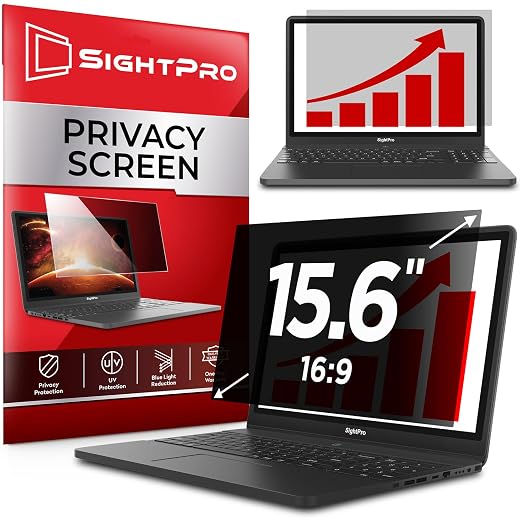
The SightPro 15.6-Inch 16:9 Privacy Filter is a practical match for the conventional widescreen panels common in business notebooks from Dell, HP, Lenovo, and similar lines. It is aimed at a laptop that spends most days in the same working role, where privacy and glare control should simply be present whenever the lid opens.
Its stated filter area is 345 × 194 mm. That measurement—not the 15.6-inch label—must match the visible display area. A 15.6-inch laptop may instead use a 16:10 panel, a different aspect ratio, or a screen with insufficient bezel for tabs. Touchscreen models are also not the intended fit.
| Screen class | 15.6 in |
| Aspect ratio | 16:9 |
| Filter area | 345 × 194 mm |
| Mounting | Adhesive or tabs |
| Surface | Anti-glare |
| Hardness | 9H |
| Touch use | Not optimized |
- Correct geometry for many mainstream 15.6-inch business panels
- Adhesive installation keeps the filter stable in daily transport
- Slide tabs provide an alternative removable mounting route
- Anti-glare layer can help under overhead office lighting
- Diagonal size alone can still produce a poor fit
- Adhesive strips are less convenient to reverse or reposition
- Tabs require usable flat bezel clearance
- Not optimized for touchscreen laptops
For a conventional 15.6-inch 16:9 work laptop, SightPro offers a sensible balance of privacy, glare reduction, and installation choice at around $30. The adhesive option makes particular sense for a machine that is carried often and rarely needs an unobstructed display. It is less compelling where the filter must come off regularly, or where bezel geometry makes slide tabs impractical.
Purpose-sized privacy for verified 16:10 panels
Best for affordable everyday screen privacy
At roughly $10, the Protescreen targets 14-inch 16:10 laptops rather than asking owners to trim a larger universal sheet. It suits a confirmed panel size where inexpensive day-to-day side-view privacy matters, with a matte surface intended for work under office lighting. The screen’s illuminated area and bezel depth still deserve a measurement before ordering.
| Target panel | 14-inch 16:10 |
| Listed size | 11 × 8 in |
| Privacy angle | ±30° |
| Surface | Matte |
| Coating | Anti-glare |
| Fixed mount | Adhesive strips |
| Removable mount | Slide tabs |
| Approx. price | ~$10 |
- Purpose-sized 14-inch 16:10 format
- Low entry price
- Both adhesive strips and slide tabs included
- Matte finish reduces reflections
- “14-inch” alone does not confirm active-area fit
- Tabs require enough clear bezel
- Matte layer can slightly soften fine text
- Adhesive mounting is less convenient to reverse
This is the value choice for a confirmed 14-inch 16:10 display—not an excuse to rely on the laptop’s diagonal label. Inspect the supplied strips and slide tabs before installation; tabs must sit on the bezel, never over illuminated pixels.
Before committing to adhesive, hold the filter in place and close the lid gently. Any resistance, pressure marks, or contact with the keyboard means the fit or mounting method is wrong.
The $9 filter for an exact 16:9 panel
A low-cost option for exact-size 1080p displays
This is the low-entry-cost route for a laptop whose visible display area measures exactly 344 × 194 mm—the common 15.6-inch, 1920 × 1080, 16:9 format. The diagonal printed on the laptop is not sufficient confirmation.
It suits a basic privacy setup where careful measurement and a deliberate first installation are acceptable. The listing identifies it as non-touchscreen compatible, so it belongs on conventional clamshell displays rather than touch-enabled models.
| Price | ~$9 |
| Panel diagonal | 15.6 in |
| Aspect ratio | 16:9 |
| Active area | 344 × 194 mm |
| Target resolution | 1920 × 1080 |
| Surface feature | Anti-glare |
| Rated hardness | 3H |
| Touch support | No |
- Exceptionally low purchase cost
- Sized for common FHD 16:9 panels
- Anti-glare feature is listed
- Fits a precisely verified active area
- Only fits 344 × 194 mm visible panels
- Diagonal size alone can produce a mismatch
- No touchscreen compatibility
- Alignment and dust control matter at installation
At roughly $9, this filter makes sense when the panel is confirmed as 344 × 194 mm, 16:9, and non-touch. Keep expectations grounded: a budget film can slightly alter perceived sharpness, color, or reflections, particularly on bright displays.
Before committing it, clean the screen thoroughly, check that the filter sits within the active area without crowding the bezel, and test lid closure. If it must be repositioned, do so slowly and cleanly; repeated handling can introduce dust or uneven edges.
A fit check that protects the display
-
Clean only when the panel is cool and dry
Power down the laptop, then remove dust with a clean microfiber cloth. A damp screen, oily bezel, or trapped grit can create bubbles, scratches, and weak adhesive contact.
-
Dry-fit before exposing adhesive
Hold the filter in place without removing liners. Confirm that its active area covers the display without overlapping the webcam, ambient-light sensor, raised bezel, or hinge-side edge.
-
Start at the camera and sensor side
Align the top edge first, using the webcam and sensor cutouts as fixed reference points. Lower the filter gradually while keeping it square; magnetic models should settle flat without pulling or sliding.
-
Apply only light, even pressure
For adhesive strips or tabs, press the attachment points—not the LCD center—then work outward with a microfiber cloth to release air. Do not bend, wedge, or force a reluctant edge into place.
-
Inspect at working brightness
Open a white document and a dark image at normal brightness. Check for rainbowing, pressure marks, blocked sensors, reduced webcam clearance, and a lid that closes naturally.
If the filter conflicts with the bezel, display coating, or lid, remove it rather than modifying the laptop or forcing the fit.
A filter that needs pressure to seat is the wrong filter, even when its diagonal size appears correct. Forced installation can stress the LCD stack, mark anti-reflective coatings, or leave the lid slightly proud in a bag.
Extra attachments deserve the same caution: check whether webcam covers are safe for MacBooks before placing anything near a camera or sensor array. If closure, camera framing, or automatic brightness changes after installation, remove the filter and reassess its dimensions and mounting method.
What changes after a privacy filter goes on?
Will a privacy screen still work with touch and a stylus?
Most removable PET filters can register touch, but they add friction and may reduce stylus precision, especially with pressure-sensitive pens. The listed fixed filters are safest treated as non-touch accessories unless the maker explicitly confirms compatibility.
Does it make the display invisible from every side?
No. Privacy is strongest at side angles, while someone directly behind the laptop can still read the screen. A narrower viewing cone also means the display must be positioned squarely for best contrast.
How much image quality loss is normal?
A modest brightness drop and slight matte softening are expected; raising backlight brightness often compensates. Grain, rainbowing, smeared whites, or noticeably fuzzy small type are signs to remove it—particularly when assessing text clarity on a Mac monitor.
Why require extra caution with MacBooks and thin-bezel laptops?
Their camera notches, ambient-light sensors, anti-reflective coatings, and shallow lid clearance leave little margin for tabs or adhesive. Confirm every cutout, avoid covering sensors, and remove a filter that prevents fully closed, pressure-free lid closure.
Choose the Filter That Fits the Actual Panel
For a removable 14-inch 16:10 setup, the SightPro Magnetic is the strongest pick when color-critical work sometimes matters. For a 15.6-inch 16:9 laptop used daily, choose the SightPro 15.6-inch; the Protescreen 14-inch is the value alternative, while the low-cost 15.6-inch Filter Protector suits an exactly matched non-touch panel.
Measure the active display, confirm its aspect ratio, then choose magnetic or adhesive mounting around the workday. Dry-fit the filter and check lid closure before travel. A privacy filter blocks side views; it does not stop theft, so pair it with physical security in shared spaces.