
A new laptop may be pristine, but it has not yet earned access to anyone’s digital life.
The first boot is exactly when it is tempting to enter an email address, restore a browser, and let years of passwords and files rush in. Yet a sealed machine can still arrive with outdated firmware, an unpatched operating system, overly broad default settings, or—rarely—unwanted preinstalled software. It is low-risk, not risk-free.
Before sign-in, the aim is not to make the laptop invulnerable. It is to establish a safer baseline: confirm that the device and its setup path are genuine, reduce needless exposure, and install critical updates before personal accounts turn it into a valuable target. These steps address ordinary failures—lost devices, account takeovers, malicious downloads, and insecure networks—far more often than dramatic supply-chain attacks. Security works best as layers: a current system, protected accounts, sensible permissions, encrypted storage, and cautious daily habits. No single switch substitutes for the rest.
- Operating-system security updates often include fixes for vulnerabilities already being actively exploited.
- Full-disk encryption protects data at rest; it does not prevent phishing or a compromised online account.
Set up a clean, documented workspace
-
Choose a private, stable location
Use a well-lit desk with reliable power and trusted home internet available. Avoid public Wi-Fi, shared office networks, and places where the serial number or screen can be photographed unnoticed.
-
Photograph the unopened package
Capture every side of the box, shipping label, seals, and any dents or punctures. Keep the retailer receipt, order confirmation, and delivery record together.
-
Record device identifiers
Before signing in, photograph or write down the model, serial number, and service tag from the box and chassis. These details support warranty service, return authorization, and a police report if theft occurs.
-
Inspect without dismantling
Check the chassis, hinges, ports, charger, display, screws, and packaging for damage, residue, mismatched labels, or signs of prior use. Do not remove panels or tamper-evident seals.
-
Pause if anything looks inconsistent
Compare the model and configuration with the order. A missing accessory, broken seal, unexpected account screen, or preinstalled personal files merits immediate documentation and retailer contact.
Store photos and receipts somewhere other than the new laptop, such as an existing phone or cloud account.
Stop setup if it boots directly into someone else’s account, shows an organization’s management notice, has a password already set, or contains user files. Photograph the screen and packaging, then contact the seller or manufacturer. Resetting, opening the case, or installing software can complicate a return or weaken evidence of prior use.
Check the firmware before the operating system
Firmware—usually called UEFI on modern laptops—starts before Windows, macOS, or Linux. Its settings decide which software is allowed to load first, so a compromised boot path can undermine protections inside the operating system.
Verify the essentials
Open the UEFI setup using the manufacturer’s startup key and confirm:
- Secure Boot is enabled. It blocks unsigned or tampered bootloaders on most consumer systems.
- TPM 2.0 (or the platform security processor) is enabled. Windows uses it for device encryption, Windows Hello, and measured boot.
- The internal drive is first in the boot order. Disable network/PXE boot if it is not needed; removable-media boot can remain available but should not be first.
Update carefully
Install firmware only from the laptop maker’s support page or its built-in update tool. Confirm the exact model, keep the AC adapter connected, allow ample battery charge, and never interrupt the restart. A firmware update can fix serious security flaws, but a failed flash can leave a laptop unable to start.
Options such as custom Secure Boot keys, virtualization controls, RAID modes, and legacy/CSM boot are advanced changes. Leave defaults in place unless a documented need exists; changing storage or boot settings can make an installed system unbootable or trigger an encryption recovery prompt.
A UEFI administrator password can stop unauthorized setting changes or boot-device changes. Record it in a reputable password manager and retain any manufacturer recovery information. Unlike an account password, a forgotten firmware password may require proof of ownership, service-center work, or even motherboard replacement; it is not a protection to enable casually.
Make setup choices deliberately
The setup wizard is not merely administrative. Each consent screen can establish a cloud identity, enable device location, upload diagnostic data, synchronize browsers and passwords, or allow personalized advertising. Defaults favor convenience; a secure first pass favors least disclosure.
Start with only the connection and account access required to finish setup and obtain security updates. Read each screen rather than accepting a broad “recommended settings” bundle. Turn off optional ad personalization, tailored experiences, and unnecessary diagnostics; most can be enabled later if they prove useful.
Choose the first account carefully
Use a strong, unique password for any account created during setup, then enroll a phishing-resistant sign-in method where available—preferably a hardware security key or passkey, with an authenticator app as a practical alternative. Save recovery codes offline, not in an email inbox protected by the same account.
A separate, non-administrator daily account is a worthwhile later step, but the initial account must be recoverable and protected now. Avoid adding work, school, banking, or password-manager accounts until the operating system is fully updated and the device’s basic protections are in place.
Account requirements vary. Apple devices normally require an Apple Account for iCloud services but can be configured without signing in. Windows editions and versions differ: some permit a local account or offline setup, while others increasingly require a Microsoft account and an internet connection. ChromeOS is built around Google sign-in, although managed and guest use cases differ. If an online account is required, sign in only to the intended platform account—never to a link or code supplied unexpectedly by a pop-up, email, or QR sticker.
Record which account became the device owner and which recovery methods were added. That small record prevents a future reset from becoming an identity-recovery problem.
Location, microphone, camera, contacts, and cloud backup permissions can usually be denied during setup and granted later to a specific app. A prompt that cannot explain why it needs access does not need an immediate yes.
Connect, patch, and declutter
Connect first through a known home network protected by WPA2/WPA3 or a personal mobile hotspot. A hotel, airport, or café network can expose setup traffic to malicious portals, spoofed DNS, and hostile nearby devices; hotel Wi-Fi carries particular risks for sensitive work. If no trusted connection exists, postpone account sign-in rather than treating a VPN as a complete cure for an untrusted network.
Install updates repeatedly, rebooting whenever requested, until the operating system reports no remaining critical or security updates. Then update the browser, built-in security definitions, hardware drivers, dock software, and device firmware from the operating-system updater or the laptop maker’s official support page. A firmware update may appear only after an earlier update or reboot, so a single scan is not enough.
Keep manufacturer utilities that serve a clear hardware purpose: firmware delivery, battery-health controls, hotkeys, audio tuning, or warranty diagnostics. Remove time-limited antivirus trials, “PC cleaner” suites, registry repair tools, shopping extensions, and vague performance optimizers. Legitimate maintenance tools identify the manufacturer, explain what they change, and obtain updates from an official signed source; optimizer software often creates alerts to sell a subscription.
Avoid third-party driver-updater sites. The operating-system updater and the manufacturer’s support page are safer sources; newer is not automatically better.
Make loss recoverable
A stolen laptop is primarily a data-exposure event. Turn on full-disk encryption before files, browser sessions, or saved passwords accumulate: BitLocker with TPM protection on supported Windows editions, FileVault on macOS, or LUKS on Linux. Encryption protects data while the machine is shut down; it does not protect an already-unlocked session.
Store the recovery key away from the laptop: in a password manager, printed in a secure location, or held in a separate recovery account. Avoid leaving it in a local note, USB drive carried with the device, or an account whose only sign-in method is that laptop. Test that the key is readable, but never enter it merely as a routine check.
Use a strong account password and phishing-resistant multi-factor authentication where available. Set automatic screen lock to a short interval, require authentication on wake, and disable convenience auto-login. A brief unattended moment is enough for someone to copy unencrypted data from an open session or approve a malicious prompt.
Keep the operating system firewall enabled on public and private networks, and remove sharing services that are not needed. Enable the platform’s device-location and remote-lock features while the laptop is online; tracking a missing laptop may help recovery, but it is not guaranteed once the device is powered off, reset, or disconnected.
After theft, remotely lock or mark the device missing, revoke active sessions and saved tokens, change the primary account password from another trusted device, and contact the organization’s IT team if it is managed. Remote erase is useful only as a last resort and only if encryption was already enabled.
A recovery key can unlock the entire encrypted drive. Treat it like a house key: keep it separate from the laptop and restrict access to people or services that genuinely need it.
Add physical and visual safeguards
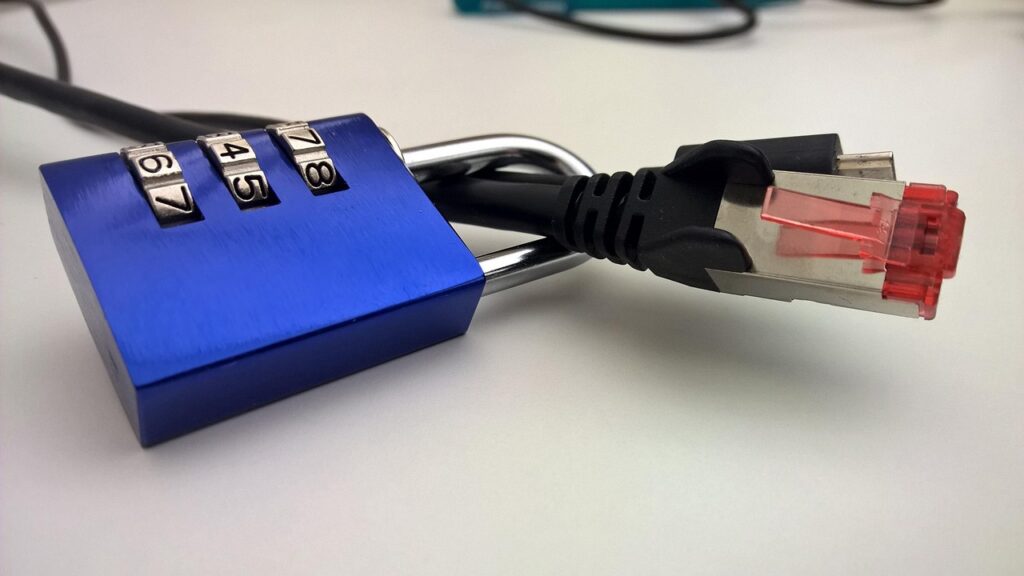
A cable lock can deter an opportunistic grab in a library, office, or hotel workspace, but it cannot protect the files on a stolen machine. Full-disk encryption, a separate recovery key, backups, and remote-lock capability remain the protection that matters after the laptop leaves the desk. Never leave a locked laptop unattended for long periods; the cable and the furniture may be easier to defeat than expected.
Choose accessories by fit, not marketing
First, confirm whether the laptop has a Kensington, Nano, or wedge-style security slot. A lock designed for one will not fit another, and many thin models have no slot at all. Slot-free locking systems may use an adhesive anchor or a desk-mounted bracket; avoid products that obstruct vents, ports, or the bottom cover.
Privacy filters reduce side-angle viewing in shared spaces. Match the exact screen size, aspect ratio, and panel type, then choose removable tabs or a magnetic design where supported. Poorly fitted filters can cover a webcam, interfere with touch input, reduce brightness, or leave residue.
Avoid thick webcam sliders on modern thin-lid laptops. When the lid closes, even a small raised cover can press into the display and crack it. A software camera permission control or a flush, manufacturer-approved shutter is safer.


Ready for real life
Before adding a password manager, banking profile, or irreplaceable files, run one controlled test. Restart the laptop, confirm the lock screen appears promptly, verify that disk encryption is active, and ensure the operating system reports current security updates. Then confirm that the recovery key can be found without relying on the laptop itself.
A backup is not proven by enabling it; it is proven by restoring a small test file. Keep recovery details in a protected offline location and record the device serial number, purchase date, and support coverage. Those records matter during theft, warranty service, or account recovery.
Security also has an end-of-life step. Before transfer or recycling, follow a safe process for erasing a laptop before it is sold, then remove it from account and device-management lists. A reset alone may not address every encrypted drive, cloud session, or activation record.
The sign-in readiness test
-
Restart once
Confirm normal boot, screen lock, and automatic update status.
-
Locate recovery material
Find the encryption recovery key and account-recovery method from another device.
-
Test the backup
Restore one harmless file rather than trusting a green status indicator.
-
Review connected access
Remove unneeded setup accounts, paired devices, and browser extensions.
-
Set a maintenance rhythm
Install updates promptly, review backups monthly, and check recovery records after major changes.
Keep recovery keys separate from the laptop and its carrying case.
A secure start needs upkeep
- Recovery information is useful only when it is reachable during a lockout.
- A successful restore is the only meaningful backup test.
- Account removal and verified erasure protect the next owner, too.
The laptop is ready when protection, recovery, and restoration have each been checked independently. Small recurring habits preserve that advantage long after the first day of setup.