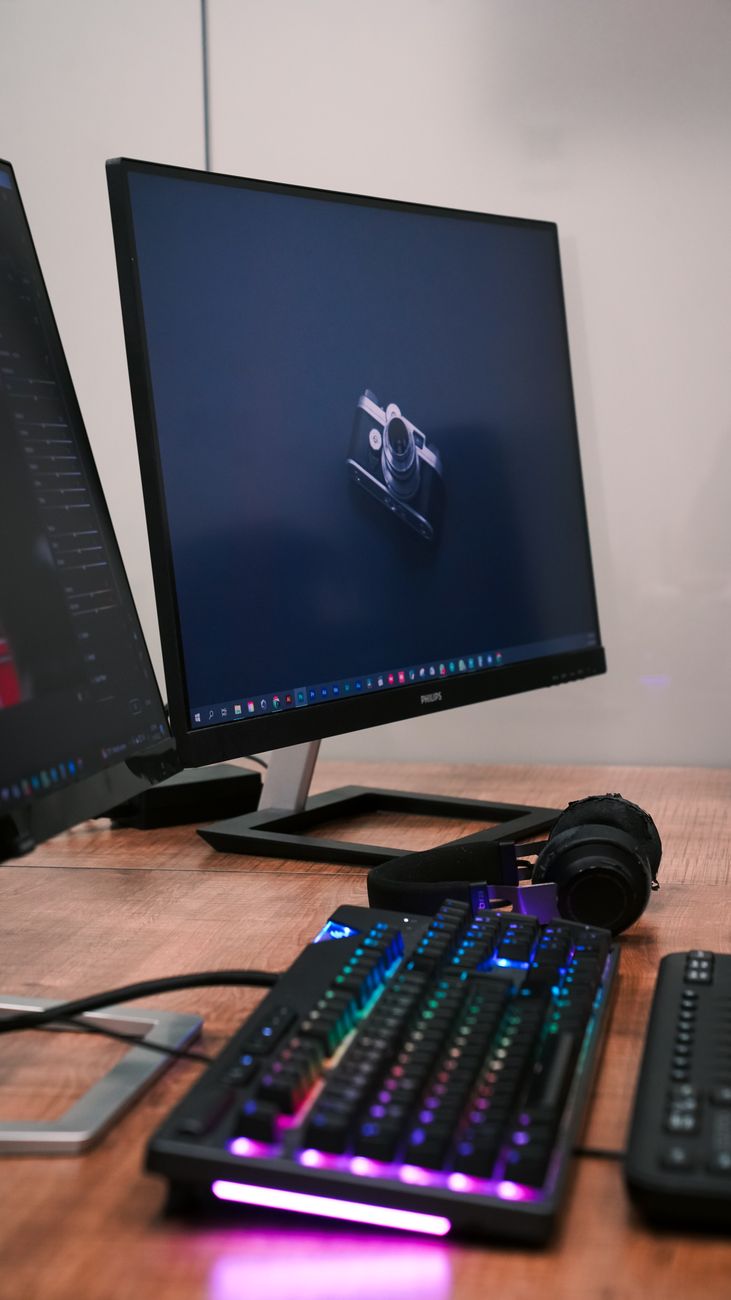
A lit screen can still be completely disconnected from the picture.
The desktop wakes, the second display’s power light comes on, and then the dreaded “No Signal” message appears. That message rarely means the panel itself has failed. It means the monitor is powered but has not received a usable HDMI video stream.
Treat it as a handshake problem first: the graphics output, HDMI cable, any adapter or dock, the monitor’s selected input, and the display’s own HDMI port must all agree on a signal. A loose plug, an input set to the wrong source, a marginal cable, or a dock that failed to re-enumerate after sleep can break that chain. Before changing drivers or display settings, isolate the physical route—direct connection, known-good cable, correct HDMI input—so the faulty link becomes visible.
- An HDMI connection carries both video data and display-identification information (EDID); a failure in either can leave a powered monitor blank.
Make the HDMI path as simple as possible
-
Select the monitor’s HDMI input
Use the monitor’s Input or Source control and choose the exact HDMI port in use, such as HDMI 1 or HDMI 2. Auto-select can miss a newly connected source or stay locked to another port.
-
Reseat both ends of the cable
Disconnect HDMI at the monitor and computer, then reconnect until each plug sits fully flush. A connector that looks inserted can still leave the hot-plug detect pin or data lanes without reliable contact.
-
Connect directly, with no devices in between
Temporarily remove docks, adapters, AV receivers, capture devices, splitters, switches, and HDMI extenders. Each adds EDID, power, or HDCP negotiation points that can prevent the display from appearing.
-
Test a known-good HDMI cable
Use a short cable that works with another display if possible. Replace cables that are bent at the plug, loosely fitting, unusually long, or not rated for the resolution and refresh rate being sent.
-
Try the other HDMI port
If either device has another HDMI socket, test it directly. This separates a failed or incompatible port from a cable or system-detection problem.
Powering the monitor off for 30 seconds after reconnecting can clear a stalled HDMI handshake.
HDMI carries more than video. When the cable is connected, the display presents identification data (EDID) and signals that it is ready through hot-plug detection. If the wrong input is selected, the plug is not fully seated, or an intermediary mishandles that exchange, the computer may never detect a second screen—regardless of display settings or driver health.
Confirm Whether the Screen Is Missing or Simply Inactive
-
Wake the monitor before judging detection
Press the monitor’s power button, then open its on-screen menu. If the menu appears, the panel has power; select the HDMI input again and disable any deep-sleep or auto-input setting temporarily. A dark screen with a working menu can still be detected by the computer.
-
Check whether the operating system can see it
In Windows, open Settings > System > Display and select Detect under Multiple displays. On macOS, open System Settings > Displays; hold Option if needed to reveal Detect Displays. A listed monitor is not absent—it may be disabled, mirrored unexpectedly, or assigned an unusable mode.
-
Choose an extended desktop, not a disconnected output
Windows: press Win+P and choose Extend, then use Identify to match the physical panels. macOS: in Displays, turn off mirroring and set the second panel as an extended display. Move the display tiles into the correct left/right arrangement so the pointer can reach it.
-
Return to a conservative signal mode
Select the monitor’s native resolution and 60 Hz first. High refresh rates, HDR, 10-bit color, or an unsupported resolution can leave a display detected but blank after handshake. Once stable, raise refresh rate and enable advanced features one at a time.
-
Inspect the active graphics controller
On Windows, Device Manager should show an enabled Intel, AMD, or NVIDIA adapter without warning symbols. In NVIDIA Control Panel or AMD Software, confirm the HDMI display is enabled. On laptops, a USB-C dock or HDMI port may be wired to a different GPU than expected.
If the screen never appears in the operating system’s display list, return to cable, input, and port testing; this is still an HDMI detection problem.
Reset the signal to a safe format
When the second monitor is listed in display settings but goes black as soon as it is enabled, the cable has usually carried enough EDID information for the computer to identify the screen. The failure is more often in the active signal: resolution, refresh rate, HDR color format, variable refresh rate (VRR), or copy-protection renegotiation.
Set the affected display to a deliberately conservative baseline:
- 1920 × 1080 resolution
- 60 Hz refresh rate
- HDR off
- VRR/Adaptive Sync/FreeSync/G-SYNC Compatible off
- Standard 8-bit color, if the graphics control panel exposes that choice
Apply the change while the working screen remains active. If the second panel stays black, briefly disconnect and reconnect its HDMI cable or power-cycle the monitor after selecting the baseline; some displays do not renegotiate cleanly until the input is restarted.
Add features back methodically
Once 1080p/60 produces a stable image, raise one setting at a time. Try the monitor’s native resolution first, then its preferred refresh rate, then HDR, and finally VRR. Test each change for a few minutes and after sleep or a restart.
The first option that brings back the black screen identifies the weak point. For example, stable 4K/60 but not 4K/120 commonly indicates insufficient cable bandwidth, a limited HDMI port, or a GPU output mode that the monitor cannot accept.
A successful reset is only useful if the failing format can be isolated. Re-enabling HDR, 120 Hz, and VRR together hides the cause.
When the desired mode exceeds the HDMI path
A display can work perfectly at 1080p/60 yet lose signal at 4K/120, with HDR enabled, or when VRR starts. Those modes demand more than a cable that merely fits: every link must support the chosen signal, from the GPU output through any dock or adapter to the monitor’s selected HDMI input.
Why a lower setting works
HDMI capability is negotiated as a complete path. A 4K/60 SDR desktop signal may work over HDMI 2.0-class hardware, while 4K/120 often needs an HDMI 2.1 FRL connection. HDR can add 10-bit color depth; 4:4:4 chroma uses more bandwidth than 4:2:2 or 4:2:0. VRR also depends on compatible GPU drivers, the specific monitor port, and a certified feature implementation.
Common traps include a monitor with only one HDMI 2.1 port, a dock limited to 4K/60, a passive USB-C adapter using older HDMI conversion, or an older “High Speed” cable placed between otherwise capable devices. A receiver, switch, capture device, or KVM can impose the same limit.
Before changing more settings, verify:
- GPU output: its HDMI version and maximum resolution/refresh for the installed GPU.
- Monitor input: the exact port used, not just the panel’s headline specification.
- Cable and intermediates: certified Ultra High Speed cable for 4K/120-class HDMI 2.1 modes; remove docks, switches, and adapters for testing.
- Mode: resolution, refresh rate, HDR bit depth, chroma, and VRR together.
Test in a controlled order: 4K/60 SDR first, then higher refresh, then HDR, then VRR. The first change that breaks the image identifies the capability boundary; it is usually more informative than repeatedly reconnecting the cable.
Inspect the dock and adapter chain
A dock, hub, splitter, or adapter is not a transparent extension of the HDMI cable. Each adds its own power, bandwidth, firmware, and handshake requirements. To isolate it, connect the monitor directly to the laptop’s HDMI port (or a known-good direct USB-C-to-HDMI adapter). If that works, the intermediary chain—not the monitor—is the fault domain.
Verify what the laptop port actually carries
Not every USB-C port supports video output. Look for DisplayPort Alt Mode, Thunderbolt, or USB4 capability in the laptop documentation; a charging-only USB-C port cannot drive HDMI through a passive hub. Also check the dock’s supported resolution and refresh rate per port and when multiple displays are attached.
A dock without its rated power supply may still light up USB devices while failing video or dropping the second screen under load. Connect its original power adapter directly to wall power, then update dock firmware, graphics drivers, and—where offered—USB-C/Thunderbolt controller firmware.
Distinguish native video from DisplayLink
Native USB-C/Thunderbolt video passes the GPU’s display signal through the dock. DisplayLink docks instead use a USB graphics driver and compression; they require the DisplayLink software, can behave differently at the login screen, and may impose limits on HDR, high refresh rates, or protected video.
MST hubs can extend separate displays only when the host supports MST; many Macs mirror MST outputs rather than extending them. An HDMI splitter normally duplicates one signal and cannot create two independent desktops. Finally, confirm adapter direction: USB-C-to-HDMI, DisplayPort-to-HDMI, and HDMI-to-DisplayPort adapters are often one-way devices, even when their connectors appear interchangeable.
Recover HDMI After Sleep or an Update
-
Drain the handshake state
Shut down the computer and monitor, unplug both from power for 60 seconds, then disconnect and reconnect HDMI. Start the monitor first, select its HDMI input, and then boot the computer; this clears stale EDID and HDCP state that sleep can preserve.
-
Restart instead of relying on sleep
A full restart reloads the graphics stack and display enumeration. On Windows, Win+Ctrl+Shift+B restarts the graphics driver and can restore a screen immediately, but it is not a substitute for a true reboot.
-
Install the graphics maker’s current driver
Use NVIDIA, AMD, Intel, or the laptop manufacturer’s current driver rather than waiting solely for an operating-system update. If the failure began immediately after an update, roll back once or perform a clean driver installation.
-
Disable Fast Startup for repeatable testing
Windows Fast Startup can retain a partially failed display state across a shutdown. Temporarily disable it in Power Options, then perform a full shutdown and cold start before judging the HDMI path.
-
Check firmware only after the basics work
Apply documented BIOS/UEFI, dock, monitor, or GPU firmware updates when release notes mention display compatibility, sleep, USB-C, or HDMI. Firmware updates should be done on stable power and never as a speculative first repair.
If the display returns only after a cold power cycle, the cable and panel may be sound; the failure is often state retention in the monitor, dock, or graphics driver.
If HDMI works after removing power but fails again after sleep, focus on driver, firmware, Fast Startup, and dock power behavior before replacing the monitor or GPU.
A recurring failure with one particular HDMI port can still indicate a worn port or cable, but replacement is best justified after the same test fails with a known-good direct cable and a freshly restarted system.
-
Test the monitor with another source
Connect the monitor directly to a known-working laptop, console, or desktop using the same HDMI input. If it still reports No Signal, even after selecting that input, the monitor’s HDMI input or its settings are the likely fault.
-
Test the computer on another display
Run the computer’s HDMI output directly to a proven monitor or TV. A second display that also stays dark points to the computer port, graphics driver, or GPU rather than the original monitor.
-
Use a known-good direct cable
Avoid docks, adapters, extensions, and wall plates for this test. A cable that works at the required resolution and refresh rate elsewhere is meaningful evidence; if it restores the picture, replace the failed cable.
-
Act on the result, not suspicion
One bad port across multiple displays justifies port or GPU service; a dock that fails only in the chain should be replaced or updated. If the monitor alone fails direct tests, consider upgrading to a better office monitor or arrange repair.